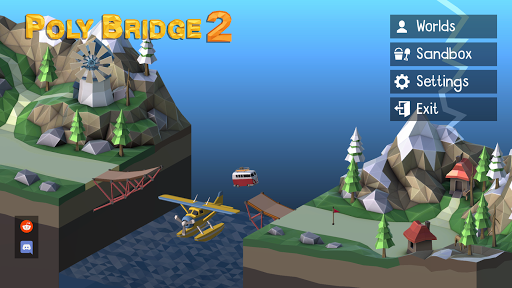
Poly Bridge 2
Simulation
Everyone
4.7
Country
US
Release Date
2020-10-01 00:00:00
Price
$1.99
File Size
Varies with device
Downloads
500K+
What This Game Is About?
Poly Bridge 2 is a creative physics-based bridge-building puzzle game where players design, test, and refine engineering solutions to help vehicles safely cross challenging gaps. Each level presents a new structural problem—rivers, valleys, moving terrain, and complex obstacles—that must be solved using limited materials and real-world physics logic. There is rarely a single correct answer, which makes experimentation and creativity the core of the experience.
The game emphasizes engineering thinking, problem-solving, and iterative design. As levels progress, challenges become more complex, requiring stronger structures, smarter weight distribution, and efficient use of resources. It’s both relaxing and deeply strategic, appealing to players who enjoy logical thinking and creative experimentation.
What Makes Poly Bridge 2 Stand Out
Creative Engineering Freedom
Unlike many puzzle games, there is no fixed solution. You can build bridges in multiple ways, encouraging creativity and personal problem-solving styles.
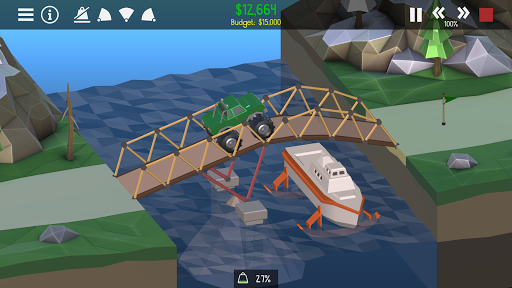
Realistic Physics Simulation
Every beam, joint, and cable reacts according to physics. Poorly designed structures will collapse, while well-planned builds create satisfying, functional bridges.
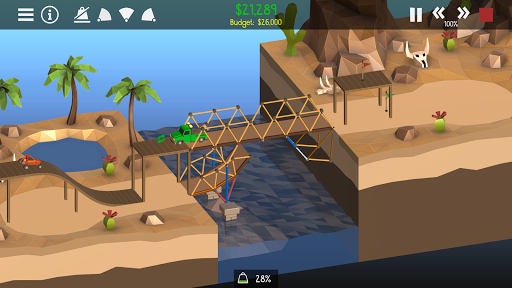
Progressive Challenge Design
Levels gradually introduce new mechanics such as hydraulics, moving platforms, and longer spans, ensuring constant learning and adaptation.
Highly Replayable Solutions
Players are encouraged to optimize designs for efficiency, cost, or durability, making each level replayable in different ways for better results.
Overall Impression
Poly Bridge 2 delivers a satisfying blend of creativity and logic. It’s easy to start but increasingly challenging to master, making it ideal for players who enjoy engineering puzzles, experimentation, and problem-solving under constraints.
How To Get Started?
Step 1: Study the Level Layout
Analyze the terrain, gap distance, and anchor points. Understanding the environment is the first step to building a stable bridge.
Step 2: Plan Your Structure
Decide where key support beams, road sections, and suspension points should go before placing materials.
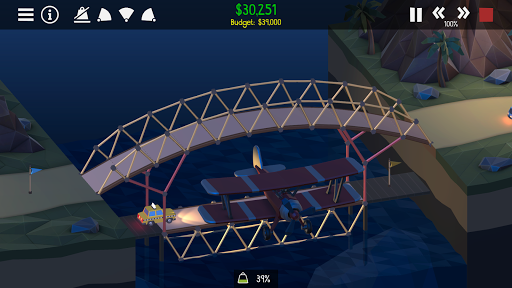
Step 3: Start Building the Bridge
Use available materials such as wood, steel, ropes, and hydraulics to construct a functional path across the gap.
Step 4: Test Your Design
Run the simulation to see how your bridge handles real traffic and weight distribution. Watch carefully for weak points.
Step 5: Reinforce Weak Areas
Strengthen sections that bend, collapse, or fail under pressure by adjusting structure placement or adding supports.
Step 6: Optimize Budget and Efficiency
Improve your design by reducing unnecessary materials while maintaining stability and functionality.
Step 7: Iterate Until It Works
Continue refining your bridge until all vehicles can safely cross the structure without failure.
Related Games


Download for App
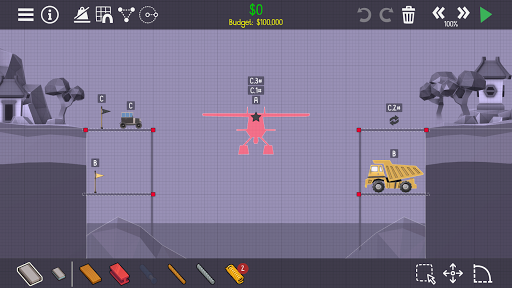
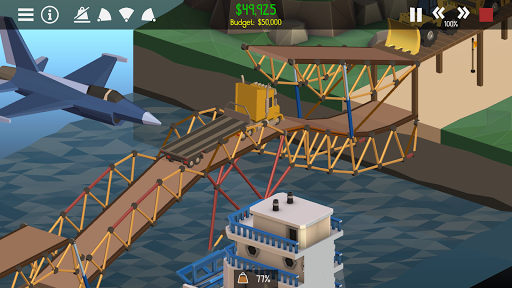
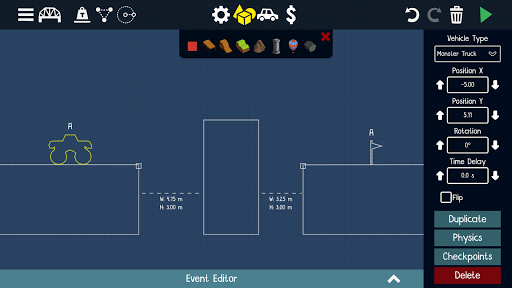
Screen Shots
◀
▶